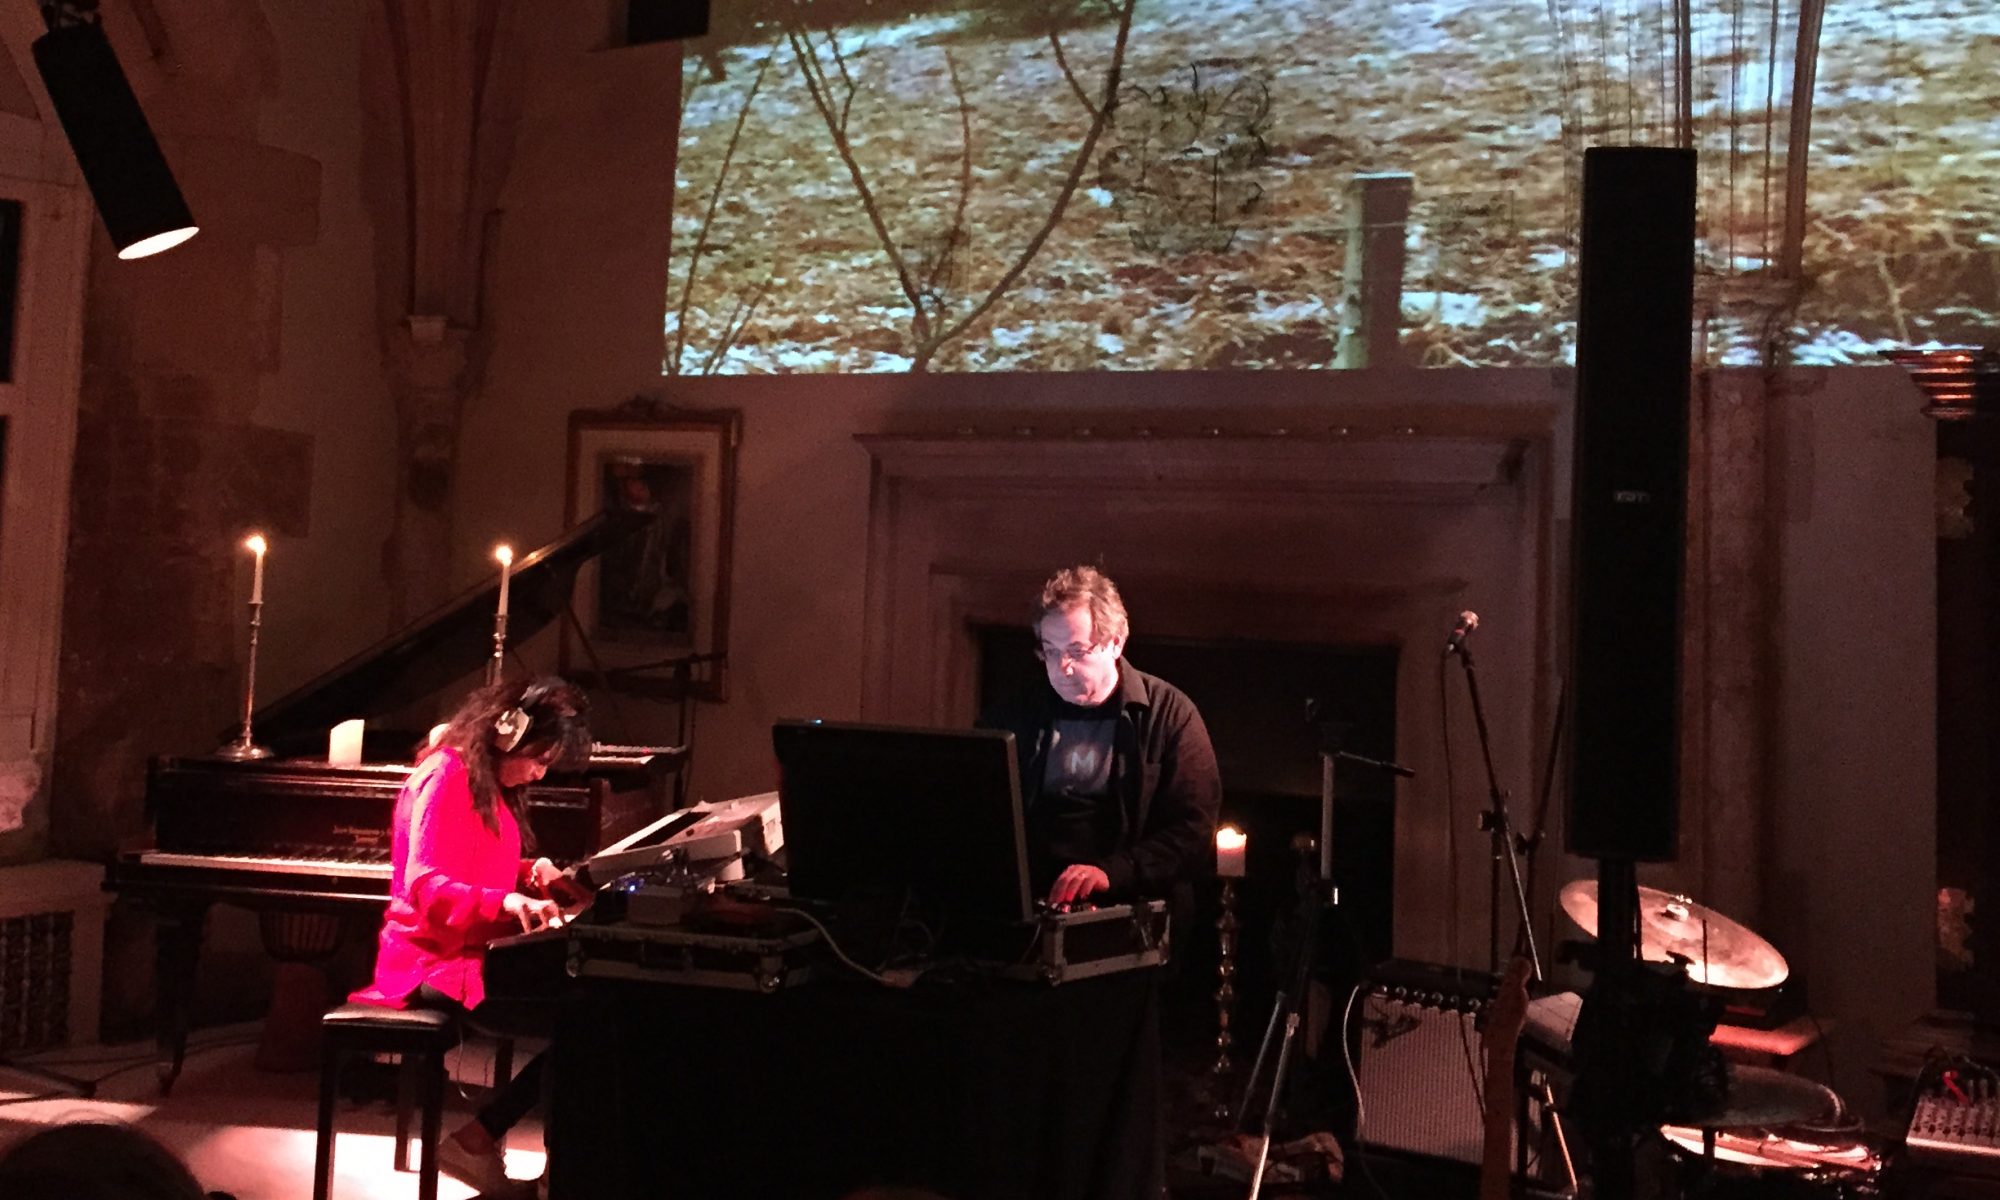
One of my great joys of the last few years has been collaborating with my very talented friend Frances Shelley setting up and performing in our band pianofield. Have a listen!
When we started, it was our aim to combine piano and soundscapes. We wanted both to be inspired by field recordings and our surroundings in a free-flowing improvised style.
Frances uses a combination of real pianos and high quality sampled ones, which she plays on her MIDI keyboard. I use Ableton Live as the foundation for my composition and live performance. The key for us is to be able to improvise as freely as possible during the performance. We record this performance as an Ableton Live set, which captures everything in a form we can then edit. We then take this in to the recording studio to edit and adjust it to make a final mastered version.
This free and improvisational workflow is really enjoyable to work with during the performance. The recording of “everything” as MIDI notes allows us to make a more polished re-interpretation of our performance for a recorded version.
Our first approach to working together was based on a single copy of Ableton Live running on my Mac. The keyboard was connected via MIDI and the real piano as an audio track. The keyboard is usually running into a Native Instruments Kontakt 5 sampler plug-in. The soundscapes and other electronic instruments were controlled from an Ableton Push 2 and other MIDI control surfaces.
This approach was great for recording everything in sync. However, it was a lot of extra work for me managing the piano while I was performing but most importantly Frances was unable to adjust her sound whilst playing the piano without involving me. This was not what we were aiming for but got us going!
With the advent of Ableton Link technology, we had an easy way to synchronise 2 or more copies of Ableton Live across ethernet. This opened up the possibility of running the piano and keyboards separately from my soundscapes and electronic instruments. This gave Frances the ability to really use Ableton Live while playing and freeing me up to be more creative live.
Synchronised Ableton Live Setup
This diagram shows an overview of the setup we now use for both live and studio work.

 The main aim was to allow Frances to work closely with 1) effects such as delay and arpeggiators and 2) looping.
The effects and arpeggiator were easy to provide with the core features of Ableton. We set up a Novation Launch Control and mapped the controls to the parameters she wished to adjust. Keeping this near the keyboard allowed her to make level adjustments and parameter changes to effects as she played.
Piano setting control
The second feature she needed was a way to quickly switch between various presets and effects in Ableton. I created a Max4Live plugin to help with this. The 8 buttons on the Launch Control allow a quick switching mechanism between combinations of tracks; each track setup for a different sound.
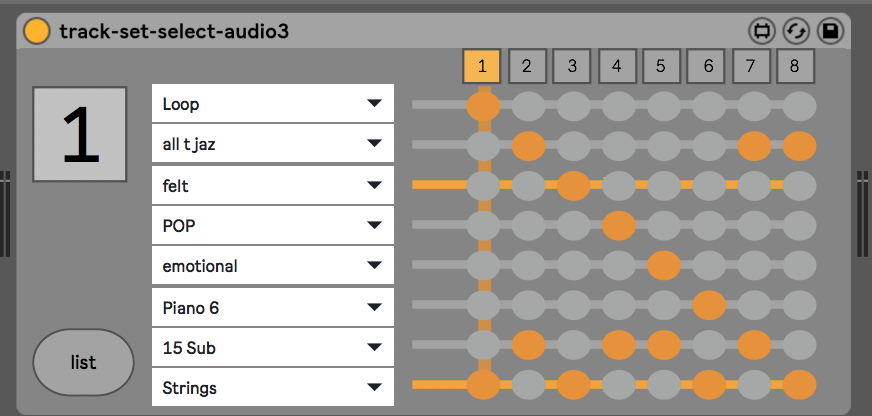
The plug-in has 8 settings across the top and a grid control down the side which allows you to set which track combinations are enabled in the live set.
MIDI based Piano Pedal Looper
Frances really likes to build up layers of piano switching between the MIDI keyboard and a real piano. After hunting all over the Internet, we did not find anything that was suitable. There are lots of amazing analog loopers which we could have used for the live performance but once converted into audio we were unable to fully edit and reinterpret the keyboard afterwards in the studio.
The basic facilities provided by Ableton for midi loop creation and editing were what we needed but they were just impossible to use while playing the keyboard live as they all require looking at the screen and operating the mouse.
It was time to build our own!
Using max4Live, it is possible to access almost all aspects of Ableton Live programatically, this seemed like a good start. Then, after watching Tom Cosm demonstrate what he had done with a max4Live looping project I was inspired!
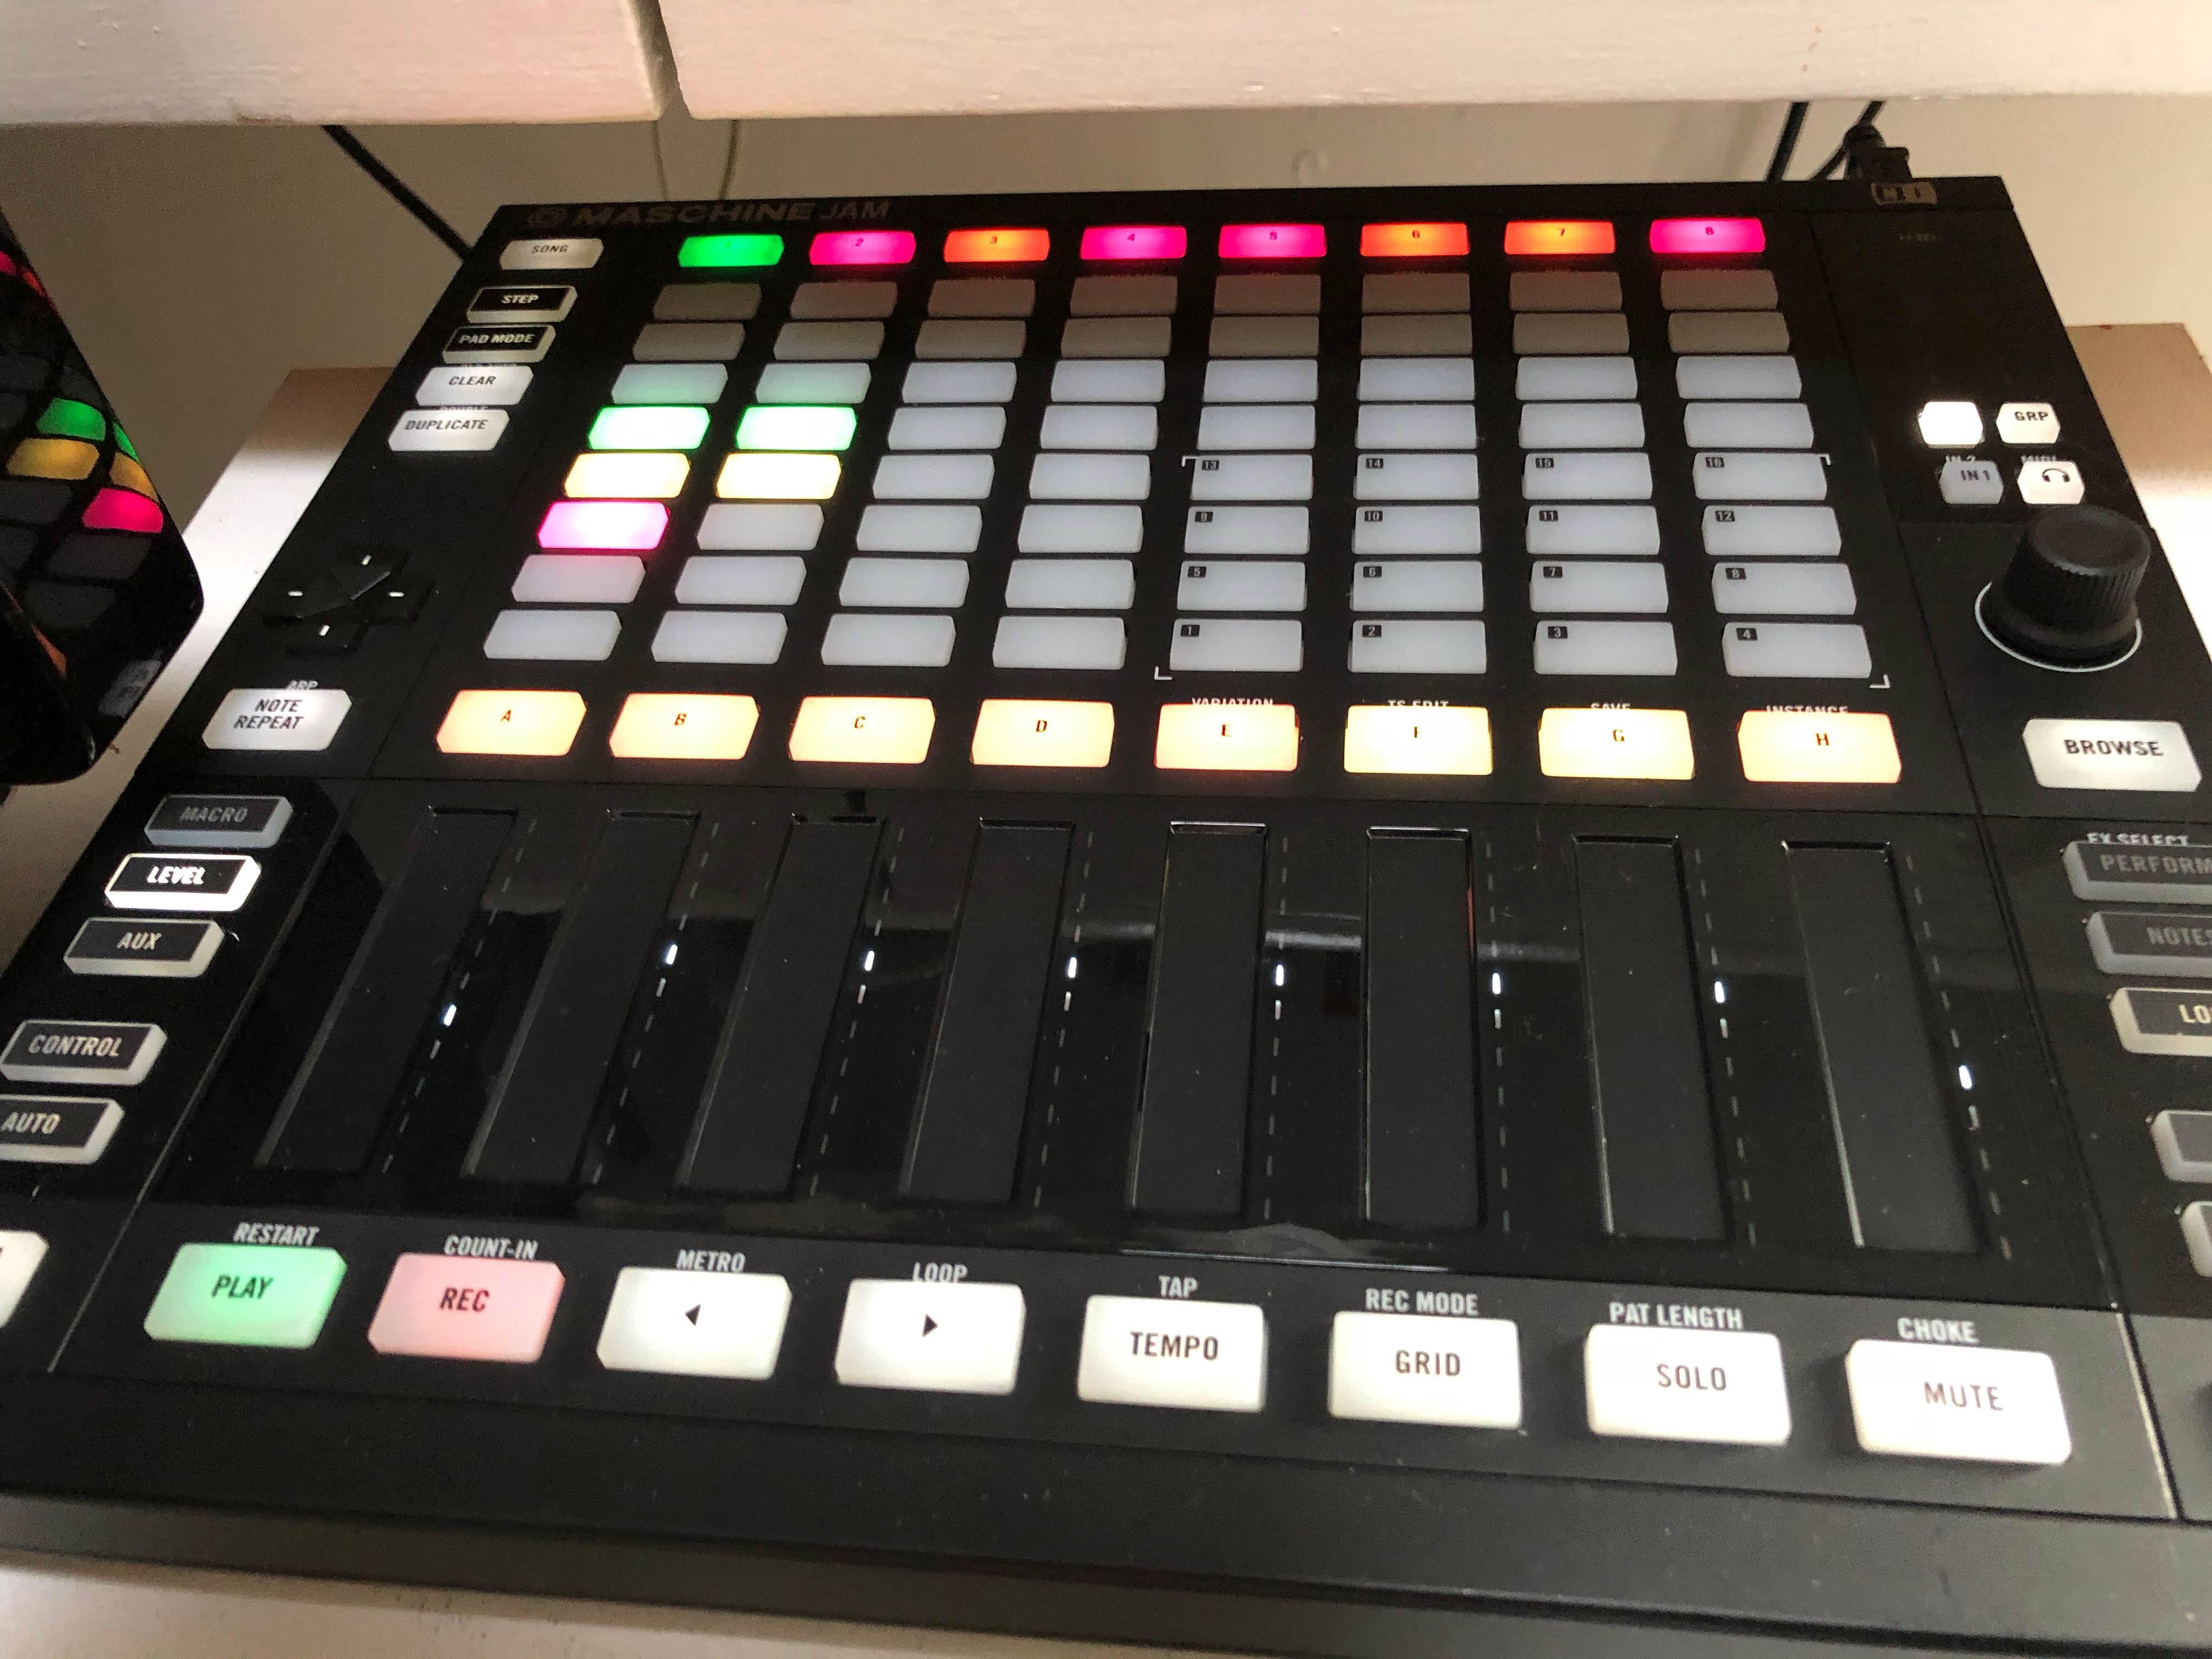
Quite a lot of effort later, we have our MIDI looper! The aim was to allow loops to be recorded, erased and stopped without looking at the laptop or taking fingers off the keyboard. It was also important to be able to sync new clips with pre-prepared loop clips as this opens up all sorts of creative possibilities. They can also act a backup loops when performing live. We wanted the whole thing to work within Ableton Live and make a Native Instruments Machine Jam; the main focus for mixing, starting and stopping loops.
 We decided on a 3 pedal interface for the looper. The pedals are used as follows: Left for starting a loop recording. Middle for moving onto the next loop to allow layers of loops to be built up. Right to erase or undo a loop recording and allow it to be re-recorded. There is no need to touch anything else to use the looper. This was very important for us.
When a loop is created it appears on the Machine Jam as a clip. It can then be started, stopped, duplicated, re-colored and so on just as any other clip in Ableton can be.
The picture below shows the looper with some pre-prepared loops on the left side of the grid – ready to go. When new loops are recorded they appear on the top row of the grid. The touch-strips allow the loops to be mixed live.
The Max4Live plug-in has options for quantisation so one can set the loop length. There is a mode that allows the first clip to act as the master. Whatever the length of the first clip is will set the loop length quantisation for the other 5 loop tracks.
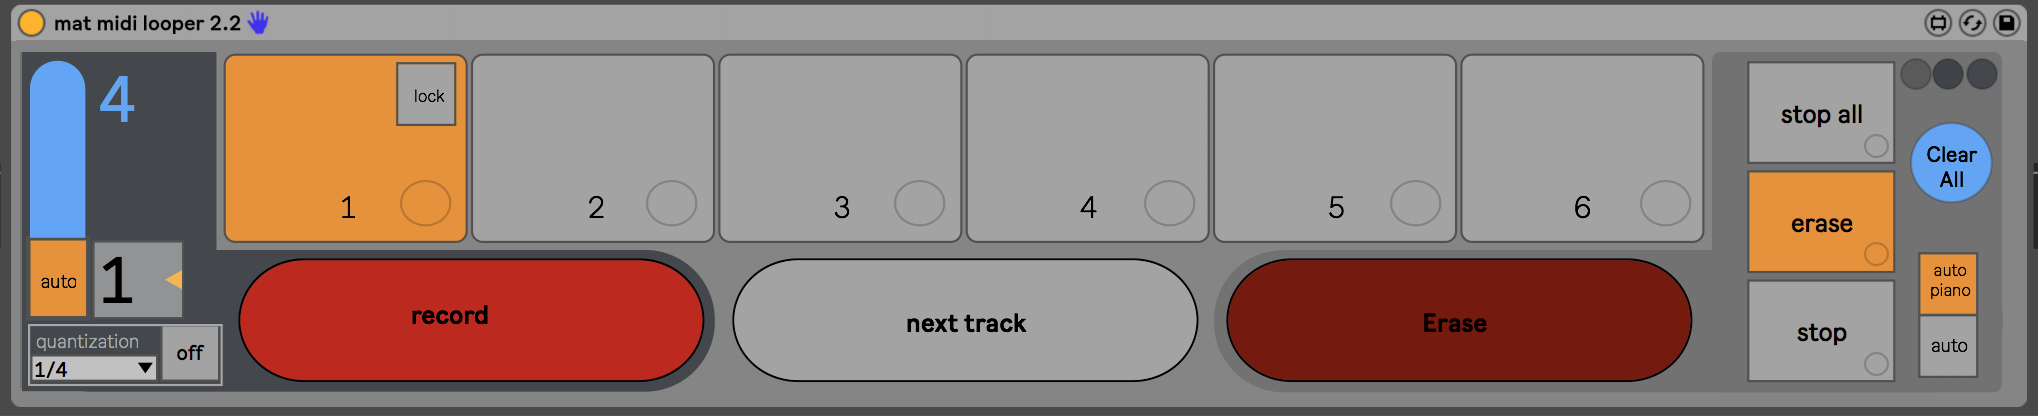
The blue bar on the right shows the position in the loop. It was helpful for debugging but does not get much use now. There are 6 looper tracks, which can be used or everything can be locked down to just use the first one.
This plug-in is also integrated with the piano settings plug-in described above. In this way, when a loop starts recording the piano setting is temporarily set to a fixed piano sound 1. After the loop is running the settings then go back to the original piano sound.